How to Create Your OpenClaw AI Agent in 2026: Full Tutorial
Step-by-step OpenClaw tutorial for 2026: VPS, install, channels, tools, memory. Working agent by the end. Amplify as the managed alternative.
This is the hands-on version. If you've already decided you want to self-host and you're comfortable with a terminal, this walk-through gets you from an empty VPS to a working OpenClaw agent responding in your Telegram, with memory, web search, and Google Workspace wired up. Real commands, real config, real order of operations. No toy example at the end, an actual agent you can use.
Time budget: four to six hours end to end the first time you do this, including waiting for DNS to propagate and Google's OAuth consent screen. If you've done it before, closer to 60-90 minutes.
One thing to keep in mind while you read: OpenClaw is on a calendar release cadence, and the commands and plugin names occasionally shift with new pins. Every command here reflects the runtime as of publish date. When you actually run this, cross-check against docs.openclaw.ai for anything that looks off. The shape of the setup is stable, but individual verbs and JSON keys move.
If you're still comparing whether to self-host at all, read the three-tracks guide first and come back once you're sure Track 1 is where you want to be.
What OpenClaw is (one paragraph)
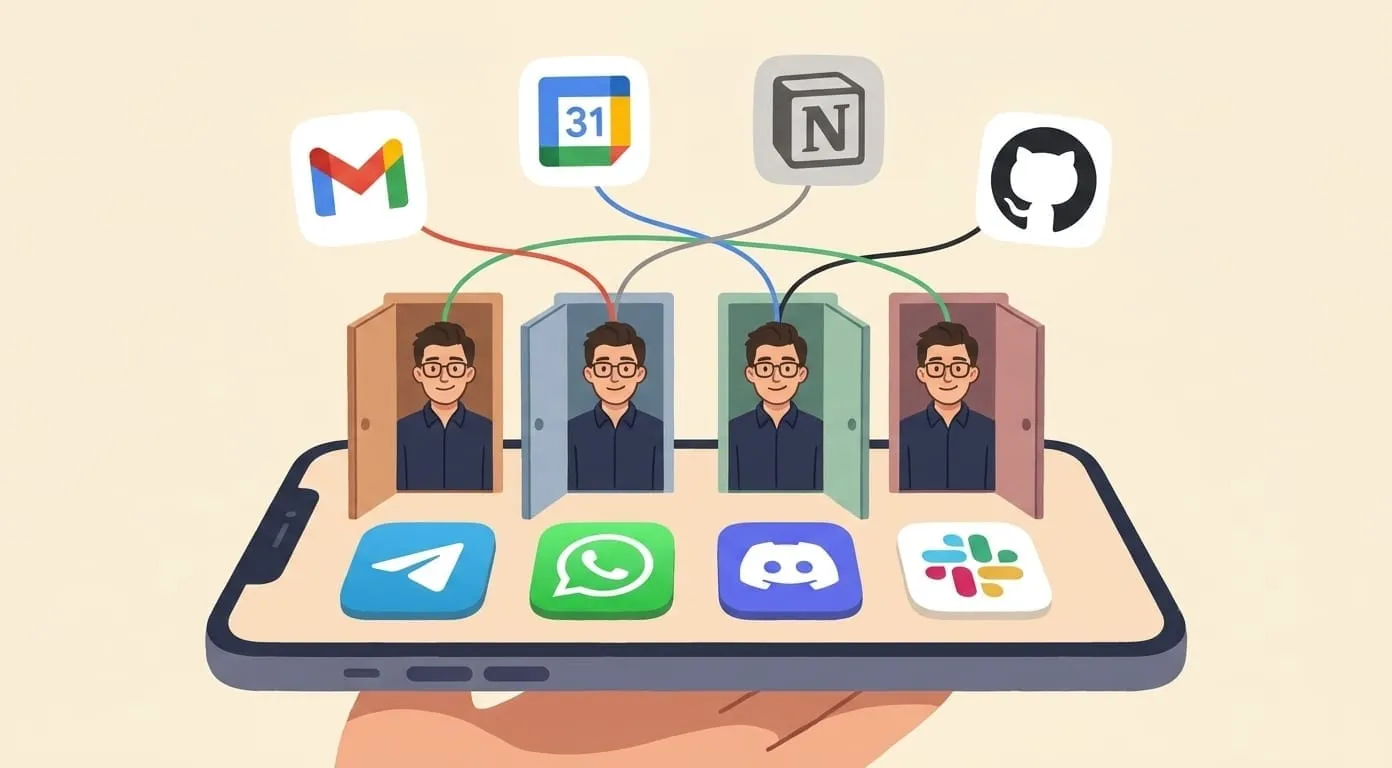
OpenClaw is an open-source runtime for building AI agents that live inside your messengers and take actions on your behalf. It ships the pieces you'd otherwise stitch together yourself: the agent loop, tool invocation, memory adapters, channel plugins for Telegram, Discord, Slack, WhatsApp, and a sandboxed exec plugin for running code. You bring the LLM key, the channel credentials, and a VPS to host it on. Docs live at docs.openclaw.ai and are worth bookmarking before you start.
Prerequisites checklist
Verify each of these before you type a single command. Nothing burns setup time faster than realizing halfway in that you need to go set up an OAuth consent screen.
Realistic first-month budget: $6-15 VPS + $12/year domain + $5-40 LLM usage + optional $30 Tavily. Call it $40-70 for month one, less after you've settled into a usage pattern.
Step 1: VPS setup and base install
Assume Ubuntu 24.04 LTS. If you're on a different distro, translate the apt commands to your package manager.
Create the VPS through your provider's dashboard. When it's up, SSH in as root. First priority: create a deploy user and disable password login.
Copy your SSH public key to /home/deployer/.ssh/authorized_keys, then log out and log back in as deployer. Edit /etc/ssh/sshd_config to set PasswordAuthentication no and PermitRootLogin no, then sudo systemctl restart ssh. Don't skip this. VPSes with root+password login open on the internet get compromised in under a day.
Install Docker, Node 20, git, and jq:
Log out and back in so the docker group membership takes effect. Verify:
Both should return without errors. If docker complains about permissions, you skipped the re-login step.
Now point a subdomain at your VPS. In your DNS provider, create an A record agent.yourdomain.tld pointing at the VPS's public IP. DNS propagation usually takes 2-10 minutes. Check with dig agent.yourdomain.tld +short.
Install Caddy for HTTPS. Caddy auto-provisions Let's Encrypt certs, which saves you a manual dance.
Write a minimal /etc/caddy/Caddyfile that reverse-proxies to the OpenClaw gateway port (8080 by default):
Reload Caddy with sudo systemctl reload caddy. Time so far: 30-45 minutes if DNS cooperated.
Step 2: Install OpenClaw
Follow the current install command at docs.openclaw.ai/install. The docs are the source of truth here because the exact npm package and CLI verb change with the calendar pin. As of this article, the runtime installs into ~/.openclaw/, drops an openclaw CLI on your PATH, and creates a default gateway config at ~/.openclaw/gateway.json.
Open the gateway config in your editor. The core sections you'll edit:
openclaw-mem0), web search (openclaw-tavily-search), Google Workspace (gog), sandboxed code exec.tools.elevated.enabled and make sure it's false. If it's true, the sandboxed exec plugin can escape to the host. This is not paranoia, it's the default that keeps you safe when the agent misinterprets an instruction.Start the runtime as a user-level systemd service:
The last command tails the log so you can watch the runtime come up. You want to see "listening on :8080" (or whatever port you configured). If you see errors about missing plugin config, that's expected right now, you haven't filled them in yet.
Step 3: Wire up the LLM (OpenRouter)
Sign up at openrouter.ai if you haven't. Top up $10. From the dashboard, generate an API key.
Edit ~/.openclaw/gateway.json. Find the agents.defaults.model.primary block. Set:
(Verify the exact current model ID against OpenRouter's dashboard, model naming shifts.)
Add the key to the runtime's environment. Either edit ~/.openclaw/env or set it in the systemd user unit override. The variable name is OPENROUTER_API_KEY.
Restart:
Sanity check from the shell:
You should get a reply from the model within a few seconds. If not, tail the log again and look for auth errors, they'll be verbose.
Step 4: Add memory (Mem0)
Without memory, your agent forgets you between sessions. Every conversation starts blank. That's not what you want.
Two options: hosted Mem0 (simpler, free personal tier at mem0.ai) or self-hosted Mem0 in Docker. This tutorial covers the hosted route because the self-hosted setup is a separate 30-minute detour.
Sign up at mem0.ai, grab an API key from the dashboard.
Open ~/.openclaw/gateway.json and find plugins.entries['openclaw-mem0'].config (create the entry if it doesn't exist based on the plugin's docs). Add:
Restart the gateway. Test it end to end. Open a chat with your agent (via the CLI for now, we'll wire up Telegram in the next step). Say: "I'm building a mobile app called BlueSky and I care most about onboarding conversion." Then start a fresh chat session (Ctrl+C, run openclaw chat again) and ask: "what's the name of the app I'm building?" It should recall BlueSky. If it doesn't, memory isn't wired correctly, tail the log and look for Mem0 API errors.
Step 5: Connect Telegram
The most fun part. Once this works, you've got a real agent in a real messenger.
Open Telegram on your phone. Message @BotFather. Send /newbot. Pick a display name for your bot ("Sam's Agent"). Pick a username ending in bot ("samsagent_bot"). BotFather replies with a bot token. Copy it.
Now find your own numeric Telegram user ID. Message @userinfobot in Telegram, it'll reply with your ID. You need the numeric ID, not your @username.
Open ~/.openclaw/gateway.json. Add a Telegram channel entry:
If you're going to use commands or slash-triggered actions, also add:
Both prefixed and bare forms are required because the runtime's owner-check normalizes them differently across code paths.
Restart the gateway. Open a DM with your bot in Telegram. Send "hello". You should get a reply in three to five seconds.
If nothing happens, three most likely causes in order:
systemctl --user status openclaw-gateway will confirm.Step 6: Add tools
Now the agent can talk. Time to give it hands.
Tavily web search
Sign up at tavily.com, grab an API key. The free tier gives 1000 searches per month, which is plenty for personal use.
Add to ~/.openclaw/gateway.json:
Restart. In Telegram, ask: "search for OpenAI's most recent model release and summarize it in three bullet points." You should get real search results with a real summary, not a generic model answer.
Google Workspace
This one is a wizard on its own but worth doing once. It unlocks Gmail, Calendar, Drive, Contacts, Sheets, Docs.
gog plugin expects them, check the plugin's README). Download the client ID JSON.gog plugin's config in the gateway JSON.Restart. In Telegram, ask: "summarize my inbox from the last 24 hours." The first time you'll get an OAuth link, click it, sign in, grant access. Every subsequent request works without prompts.
If Google shows an "unverified app" warning during OAuth, that's expected for testing mode. Click "Advanced" and proceed. This warning goes away only after you submit the app for Google's verification, which is a separate multi-week process not worth doing for personal use.
Code execution
OpenClaw's sandboxed exec plugin ships enabled by default. It runs code in a locked-down Docker container isolated from the host. You don't need to configure anything beyond confirming tools.elevated.enabled: false in the gateway JSON (from Step 2). That flag is the hinge between "safe sandbox" and "agent can read your VPS's environment." Leave it off.
Step 7: Test the full agent
Three prompts that stress every piece you just wired up. Try each in Telegram:
If all three work, the agent is real. Take a screenshot, log off, celebrate.
Common problems and their causes
Real ones, from the OpenClaw community and from dogfooding the same runtime at Amplify:
@username in place of the numeric.nofile ulimit is too low for a busy agent. Set default-ulimits.nofile = 65536 in /etc/docker/daemon.json and restart Docker.What to add next
Once the base is running, expanding is cheap:
channels.discord block, restart.Each of these takes about 30 minutes once the base is running.
Lifehack – When to stop DIYing and switch to hosted
Being honest about when this stops being fun.
apt upgrade for two months." Also common. Also avoidable, but only if security patching is part of your routine.Amplify handles all of the above. It's the same OpenClaw runtime, but the provider runs it, patches it, and consolidates billing. Pricing: $9.99 subscription plus a wallet for provider usage (minimum $3 deposit, no expiry). Provider costs get debited at cost plus a 7.5% service fee. Details at getamplify.team.
Frame it as: Amplify is OpenClaw hosted, for people who'd rather not be DevOps. It's not a competitor, it's the offramp when the tutorial gets tiring.
TL;DR
OpenClaw is an open-source agent runtime you self-host. This tutorial walks you from empty VPS to a working agent in your Telegram with memory, web search, and Google Workspace, in four to six hours the first time. The realistic ongoing cost is $25-80 per month depending on how much you use it. You get full control and full responsibility. If either of those becomes a source of stress, the same runtime runs hosted at Amplify with the pricing above. Pick the option that matches how much of your time you want to spend on infrastructure versus on what the agent actually does for you.