How to Set Up an AI Assistant in Slack
Connect a personal AI assistant to Slack in under five minutes. An OpenClaw agent with one-click setup, Socket Mode (no webhooks), and cross-channel memory.
Last updated: May 2026
Your AI assistant lives directly in Slack – DM it for private tasks or invite it to channels for team-visible help. Built on OpenClaw's open-source agent framework, it goes beyond what traditional Slack bots can do: persistent memory across sessions, modular skills, and the same assistant available in all your other messaging channels.
Setup takes under five minutes. One click creates the app – then you just copy a few tokens.
What You'll Get
Once connected, your Slack AI assistant can:
Socket Mode means no public webhook URLs – works behind corporate firewalls and VPNs with zero IT configuration.
What You Need
Step-by-Step Setup
Step 1: Create Your Amplify Account
Go to getamplify.team and sign up. Pay the platform fee and add your usage deposit.
Step 2: Create the Slack App (One Click)
From your Amplify Dashboard → Channels → Slack, click "Create Slack App". This opens Slack's app creator with a pre-filled manifest – all permissions, event subscriptions, and Socket Mode configuration are set up automatically.
Just select your workspace from the dropdown and click "Create". Done – no manual permission configuration needed.
Step 3: Generate an App-Level Token
In your new app's settings page:
socketxapp-1-...)Paste it in the Amplify Dashboard.
Step 4: Install the App and Copy Bot Token
In the app's left sidebar:
xoxb-...)
Step 5: Enter Your Slack Member ID
Your Member ID tells Amplify who the bot's owner is:
It looks like U0A1B2C3D4E. Paste it in the Dashboard and click Connect.
Step 6: Send Your First Message
Open a DM with your new bot in Slack. Send any message – you'll get a response within seconds. Your AI assistant is live.
Five Things to Try First
1. Summarize a Link
Paste any URL in a DM to the bot:
"Summarize this article in 3 key points: [link]"
Instant summary without leaving Slack.
2. Check Your Calendar
After connecting Google Workspace:
"What meetings do I have today?"
"Am I free at 2pm on Thursday?"
3. Channel Assistance
Invite the bot to a channel with /invite @botname, then:
"@assistant draft a status update based on this thread"
The response appears in the channel for the whole team.
4. Voice Message
Record a voice clip in Slack. The assistant transcribes and responds to the content.
5. Recurring Reminders
"Every weekday at 9am, remind me to check the support queue"
"Remind me in 2 hours to follow up with the client"
Tips and Tricks
Socket Mode means zero network config. Unlike traditional Slack bots that need a publicly accessible URL for webhooks, Socket Mode connects over a WebSocket initiated from your side. Works behind corporate firewalls, VPNs, and NATs without opening any ports or filing IT tickets.
The manifest does everything. The pre-filled manifest Amplify provides configures all required OAuth scopes, event subscriptions, and Socket Mode settings. You never need to manually check permission boxes or subscribe to events.
Token prefixes tell you what's what. App-Level Token starts with xapp-, Bot Token starts with xoxb-, Member ID starts with U. If a field validation fails, you probably pasted the wrong token in the wrong field.
Channel access is opt-in. The bot only sees channels it's been explicitly invited to. Use /invite @botname to add it to specific channels. It cannot read channels where it hasn't been invited.
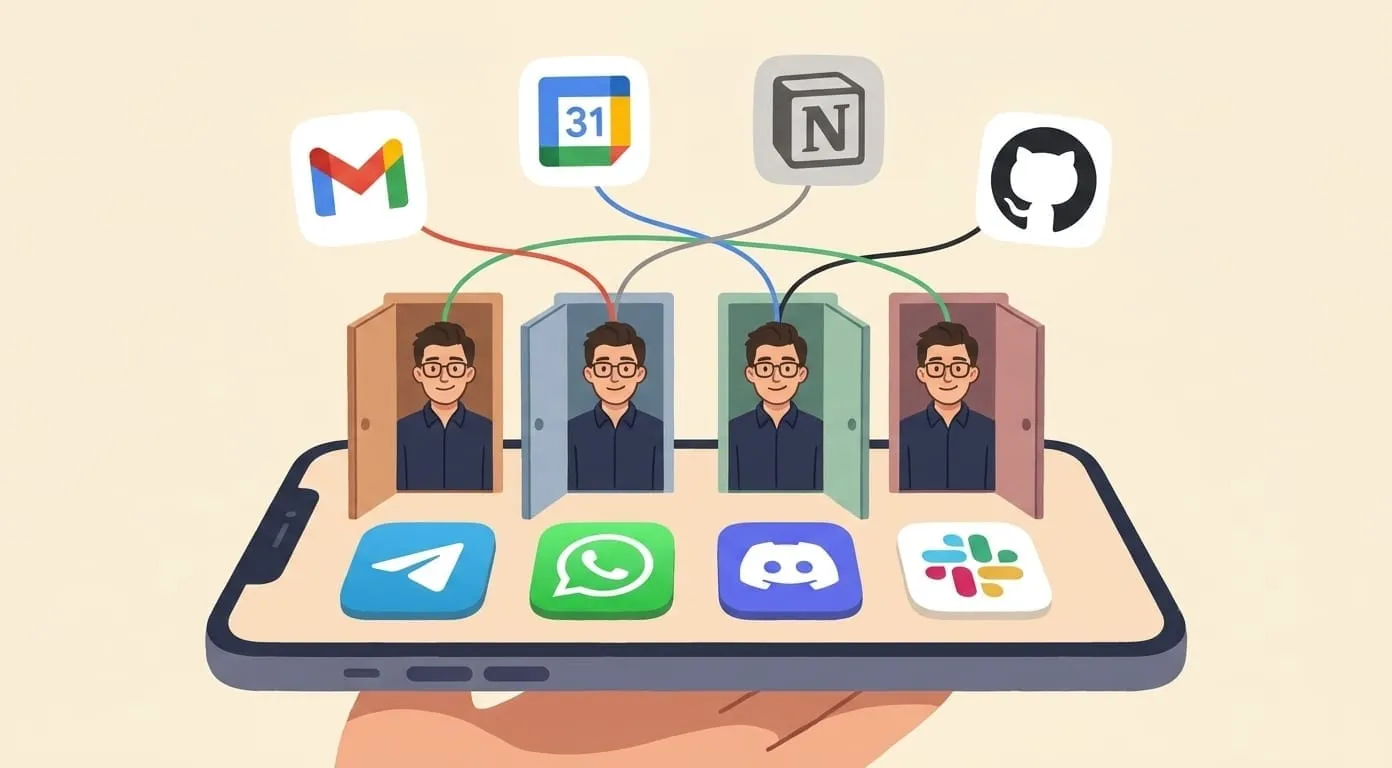
OpenClaw memory across channels. Because this is an OpenClaw agent, it remembers everything across all your channels. Discuss a project in Slack, then ask about it from Telegram while commuting – full context preserved. No repetition, no re-explaining.
Thread replies keep things clean. When responding in channels, the assistant replies in threads rather than flooding the main conversation. This keeps your channels readable.
What It Costs
No per-workspace or per-channel fees. Same deposit, same pricing across all channels.
Frequently Asked Questions
You need permission to install apps in the workspace. If your organization restricts app installation, you'll see "Request to Install" instead of "Install" – in that case, your workspace admin needs to approve the request. Many workspaces allow members to install apps freely.
Yes – arguably more secure than webhook-based bots. Socket Mode doesn't expose any public endpoint. All communication happens over an encrypted WebSocket connection initiated from Slack's side. There's no URL that could be discovered or targeted. No inbound firewall rules needed.
The bot responds to the owner (the person whose Member ID is configured). Others who DM or @mention the bot will get responses, but all usage is billed to the owner's account. For team use where each member wants private memory and separate billing, each person needs their own Amplify account and Slack app.
The pre-filled manifest requests: read messages in channels the bot is invited to, send messages and replies, read files shared directly with it, and manage its own DMs. It cannot read channels it hasn't been invited to, access workspace admin settings, or see private channels without an explicit invite.
Slack's native AI features (channel summaries, thread recaps) work only within Slack's own data. Amplify is an OpenClaw agent – it connects to external services (Gmail, Calendar, Drive, Notion, web search), generates images, maintains persistent memory across Slack and your other messengers, and performs multi-step tasks autonomously. It's a full personal assistant that happens to live in Slack, not a Slack feature.
For the interactive setup wizard with live token validation, visit getamplify.team/slack-setup.